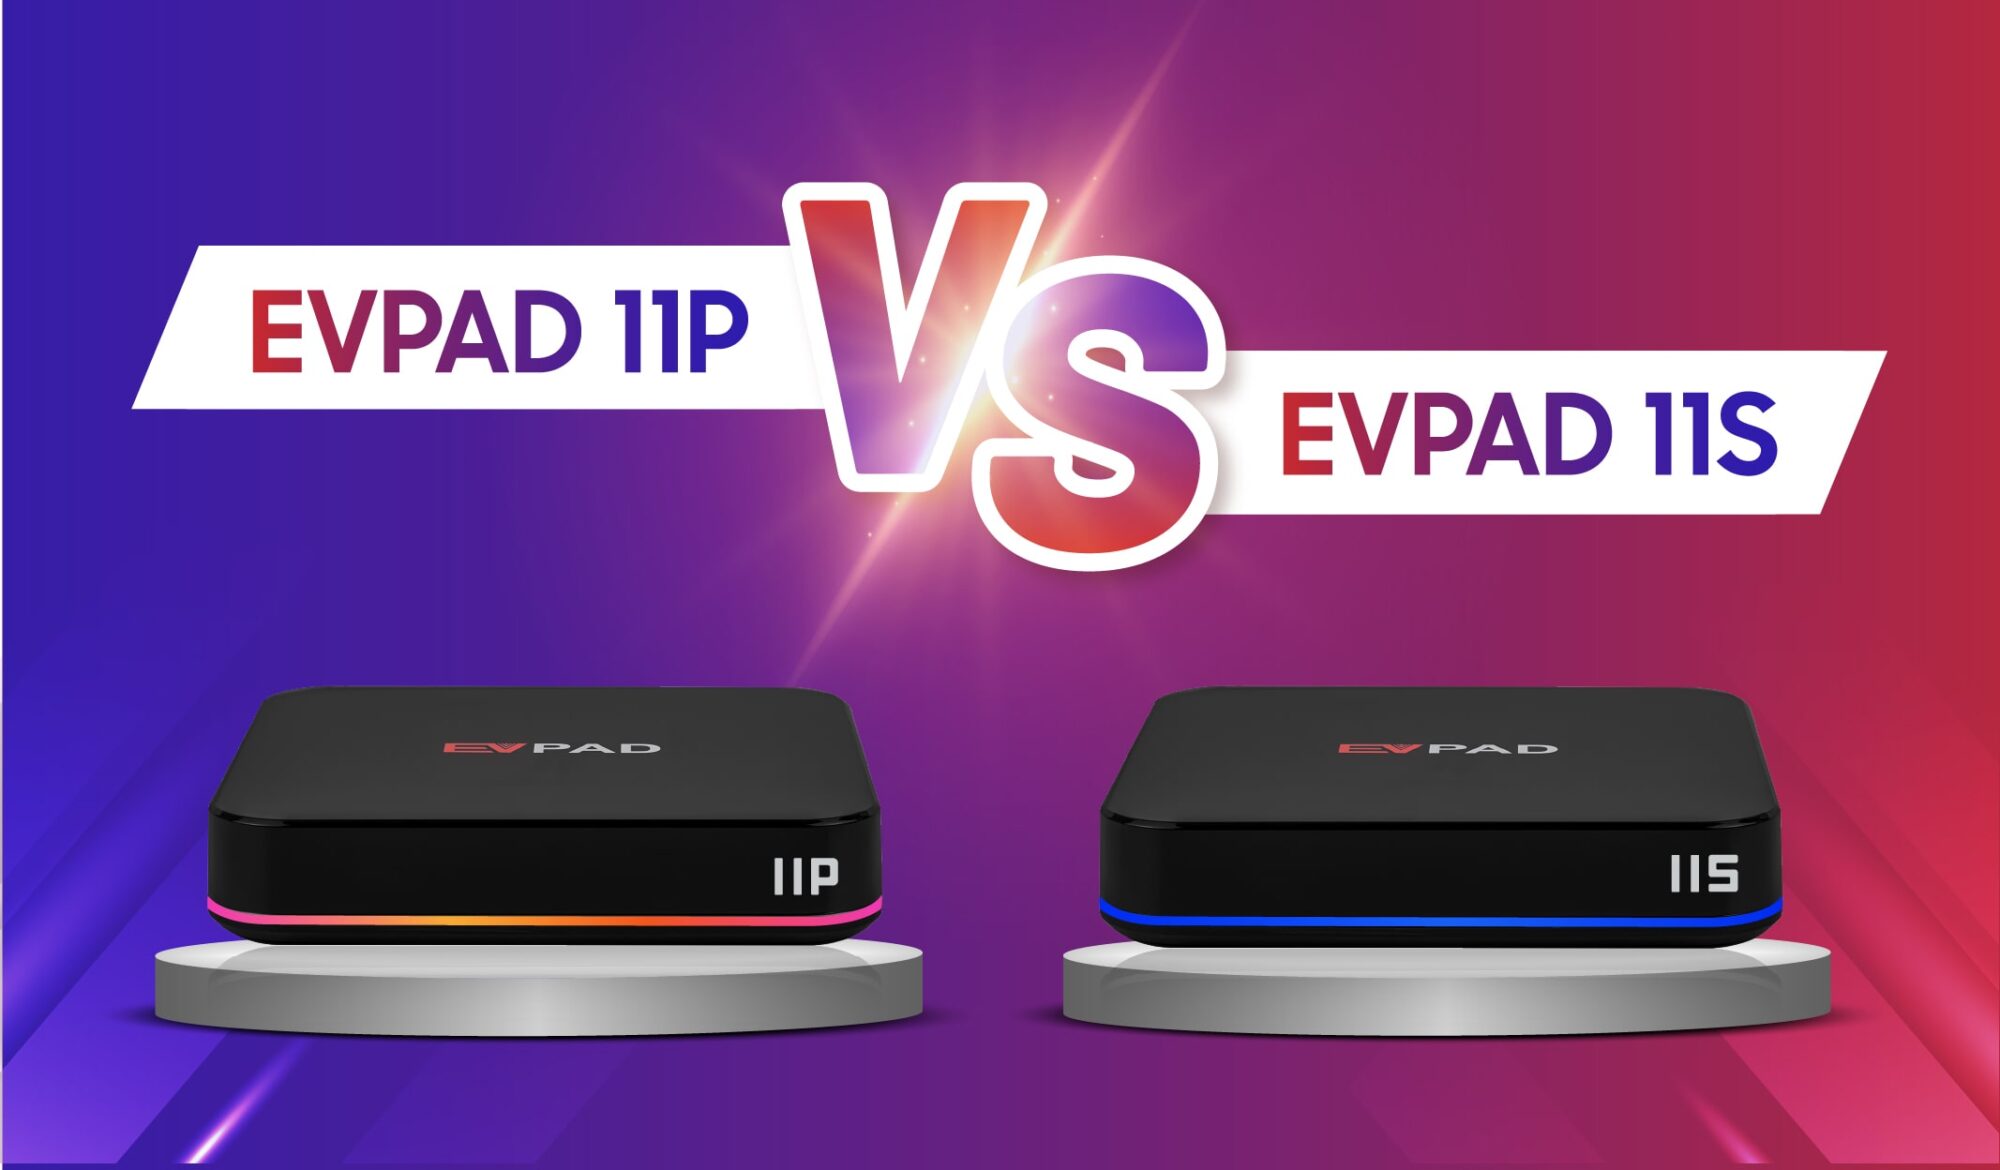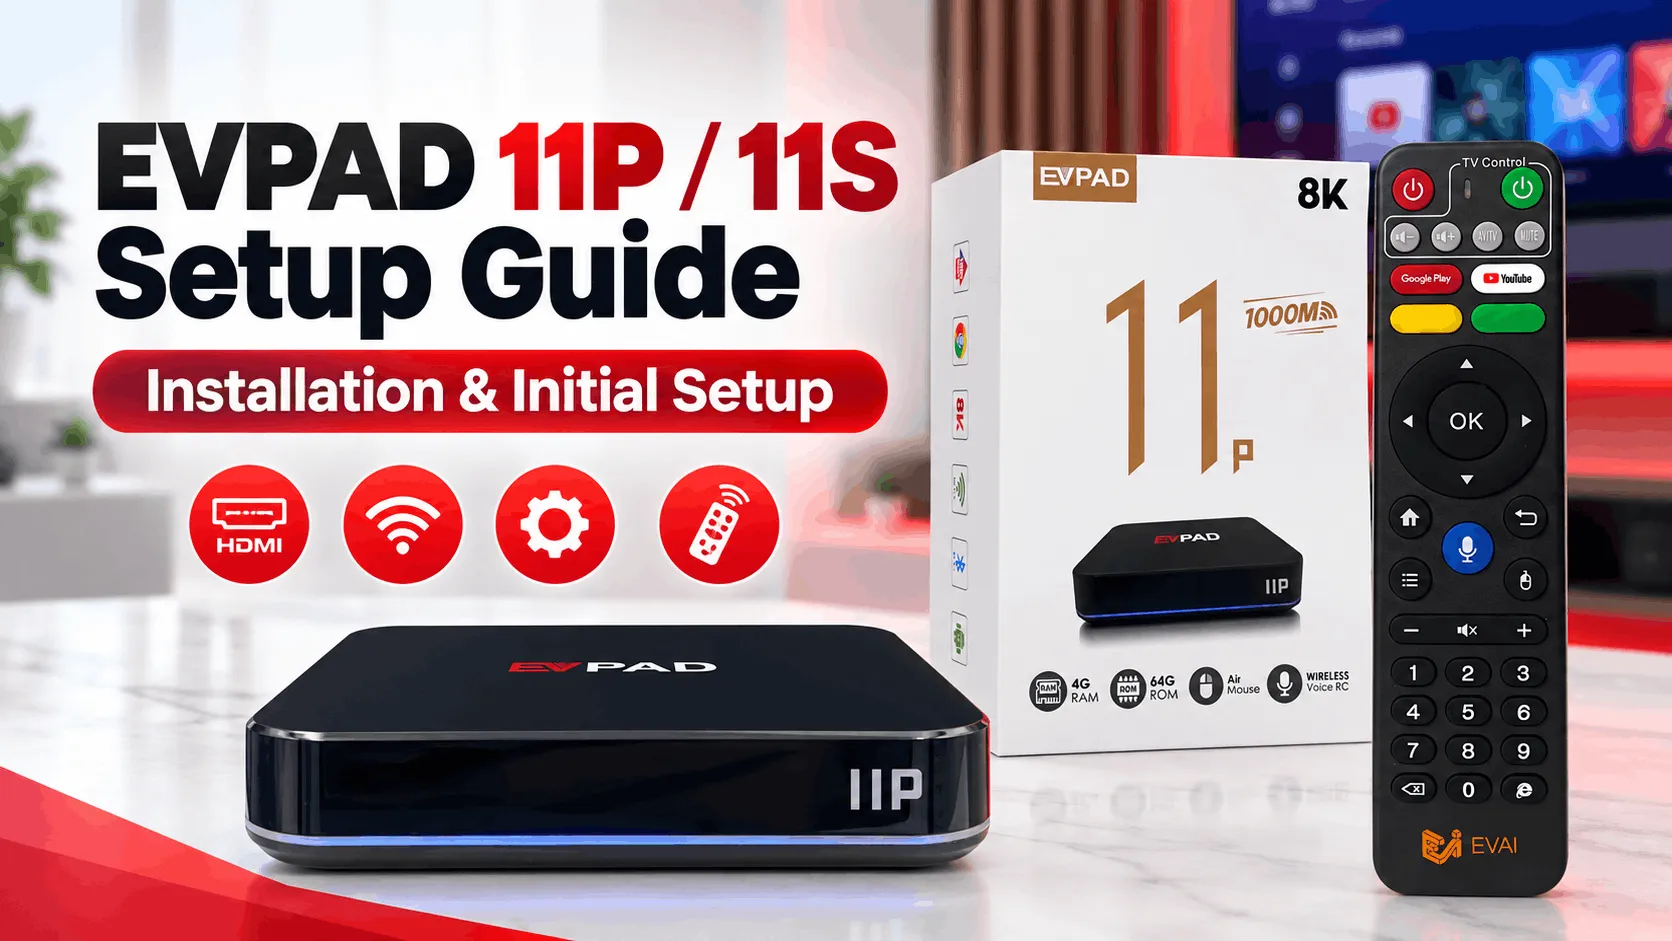
Setting up your EVPAD 11P or 11S is straightforward once the TV box, HDMI connection, network, and remote control are configured correctly. If this is your first EVPAD device, following the setup process in the right order can help you get started without unnecessary connection or pairing problems.
This guide walks you through the complete EVPAD 11P and 11S setup, from connecting the TV box to your television and completing the first-time system setup to pairing the remote control and fixing common setup issues.
What Comes with the EVPAD 11P / 11S?
Before starting the setup, check that the main accessories for your EVPAD 11P or 11S are included in the box. You will typically need the following items to connect and power the TV box:
- EVPAD 11P or 11S TV Box
- EVPAD remote control
- HDMI cable for connecting the EVPAD to your TV
- Power cable
- Power adapter
Keep the remote control nearby during the initial setup, as you will need it to select the language, configure the network, and complete the remote pairing process. Once you have confirmed that the required accessories are available, you can proceed with connecting the EVPAD to your television.

How to Connect EVPAD 11P or 11S to Your TV
To connect your EVPAD 11P or 11S to a television, make sure the TV is turned off or switched to standby before connecting the HDMI and power cables.
- Connect the HDMI cable. Plug one end of the HDMI cable into the HDMI port on the EVPAD and the other end into an available HDMI port on your TV.
- Connect the power cable. Attach the power cable to the EVPAD and connect it to the supplied power adapter.
- Plug the adapter into a power outlet. The EVPAD should begin to power on automatically.
- Turn on your TV and use the TV remote to select the HDMI input connected to the EVPAD, such as HDMI 1 or HDMI 2.
- Wait for the EVPAD startup screen. Once the correct HDMI source is selected, the EVPAD home or first-time setup screen should appear.
If the TV shows No Signal, check that the HDMI cable is firmly connected at both ends and confirm that the TV is set to the correct HDMI input.
How to Complete the First-Time EVPAD Setup
After your EVPAD 11P or 11S is connected to the TV and the startup screen appears, follow the on-screen setup process to configure the basic system settings.
- Select your language. Choose the language you want to use for the EVPAD interface and menus.
- Review and accept the disclaimer. Read the information shown on screen, then continue to the next step.
- Connect to the internet. Select your Wi-Fi network and enter the password, or use an Ethernet cable through the LAN port for a wired connection.
- Confirm the network connection. Make sure the EVPAD successfully connects to the internet before continuing.
- Complete the remaining on-screen settings. Follow any additional prompts shown by your EVPAD 11P or 11S until the initial setup is finished.
Once these steps are complete, the EVPAD should load the main interface and be ready for normal use. Keep the remote control nearby, as the next step is to confirm that it is properly paired with the TV box.
Tip: If the EVPAD cannot connect to Wi-Fi during setup, double-check the password and move the TV box closer to your router before trying again.
How to Pair the EVPAD Remote Control
During the initial setup, your EVPAD 11P or 11S may ask you to pair the remote control with the TV box. Pairing allows the remote to communicate properly with the EVPAD and use its main control functions.
- Keep the remote close to the EVPAD. Make sure the TV box is powered on and the pairing screen is visible.
- Press and hold the Left and Right buttons on the remote control at the same time.
- Wait for the pairing prompt to appear on the screen.
- Press OK when prompted to complete the connection.
- Test the remote. Use the directional buttons and OK button to confirm that the EVPAD responds normally.
If the remote does not pair on the first attempt, move it closer to the TV box and repeat the process. Also check that the batteries are installed correctly and have enough power.
EVPAD Setup Not Working? Try These Fixes
If your EVPAD 11P or 11S setup does not complete normally, the problem is usually related to the HDMI connection, power supply, network connection, or remote pairing. Use the table below to check the most common setup issues.
If the problem continues after these checks, avoid repeatedly changing system settings. Confirm the cable connections, network status, and remote pairing first before attempting further troubleshooting.
Final Thoughts
Once your EVPAD 11P or 11S is connected to the TV, online, and paired with the remote control, the initial setup is complete and the device is ready for everyday use.
If you are purchasing another unit or choosing an EVPAD 11P version for a different region, you can compare the available options below.
Choose the EVPAD 11P version that fits your region
View the Singapore and International versions of EVPAD 11P.
For genuine EVPAD products, setup support, model recommendations, and competitive pricing, visit EVPADSG, an official authorized EVPAD dealer.